
Alan Ross

Alan Ross Forex

Free Forex Indicators, MetaTrader Tools and Honest Trading Guides

Indicators

Best Forex Indicator Combinations That Actually Work (2026)

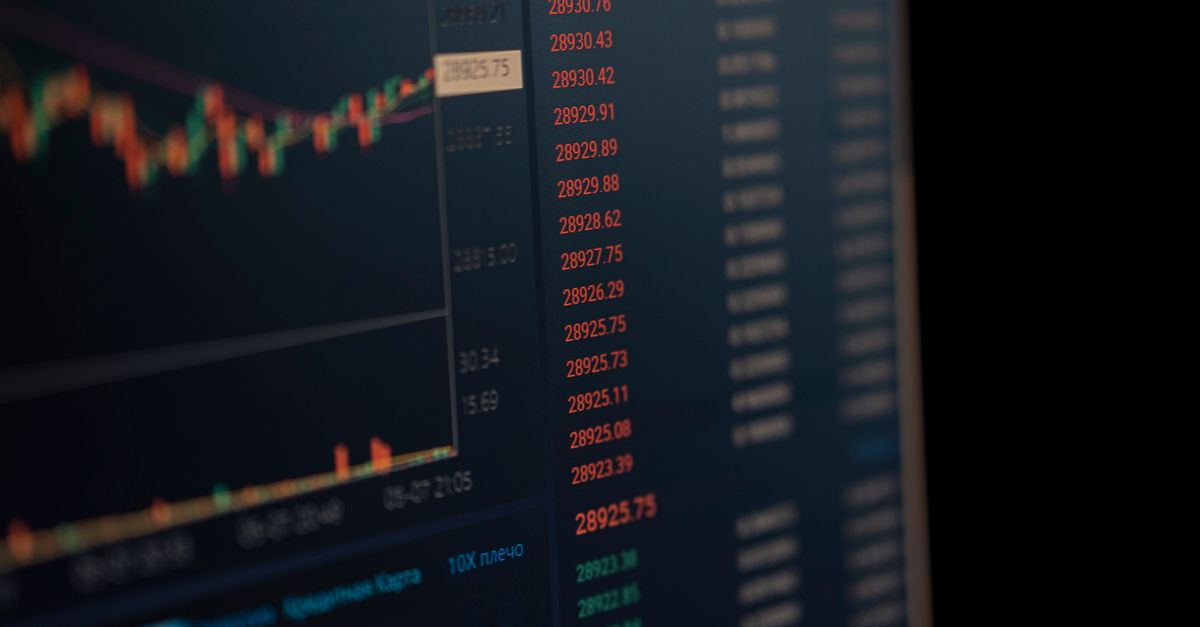
Forex trading chart showing trend, momentum and volume indicators stacked in separate panes
TL;DR

  • The best forex indicator combinations use one indicator per job: one for trend, one for momentum, one for volatility, one for volume. Never two of the same type.
  • Stacking RSI, MACD, and Stochastic together is fake confirmation. They are all rate-of-change of the same price, so it is one witness counted three times.
  • For most traders, a trend tool plus one momentum reading plus an ATR-based stop is enough. Two or three indicators that disagree about their jobs beat five that all say the same thing.
  • Match the combination to your style: faster settings for scalping, standard settings for day trading, slower settings for swing trading.

The best forex indicator combinations that actually work share one rule: one indicator per job. You pick a trend tool, a momentum tool, a volatility tool, and optionally a volume tool, and you never double up inside a single job. That is the whole secret. Most combinations fail not because the indicators are bad, but because traders stack three tools that all measure the same thing and then mistake the echo for agreement.

Why most forex indicator combinations fail (the fake-confirmation trap)

Here is the trap I fell into myself. I wanted confirmation, so I loaded RSI, then MACD, then Stochastic on the same chart. When all three pointed the same way, I felt certain. The problem is that those three are calculated from the same price stream and they all measure momentum, which is just the speed of price change. When price accelerates, all three light up together. They have to. So I was not getting three independent opinions. I was getting one opinion repeated three times in different fonts.

That is fake confirmation. Real confirmation comes from tools that look at different things and still agree. If your trend tool says up, and a separate momentum tool says the pullback is finished, those are two genuinely different questions answered the same way. That is worth something. Three momentum oscillators agreeing is not.

The fix is to think in jobs, not in indicator names. Once you do that, building a combination becomes simple, and you stop drowning your chart in redundant lines. If you are still picking your first tools, my guide to the best forex indicators walks through the families one at a time.

The four jobs on a chart: trend, momentum, volatility, and volume

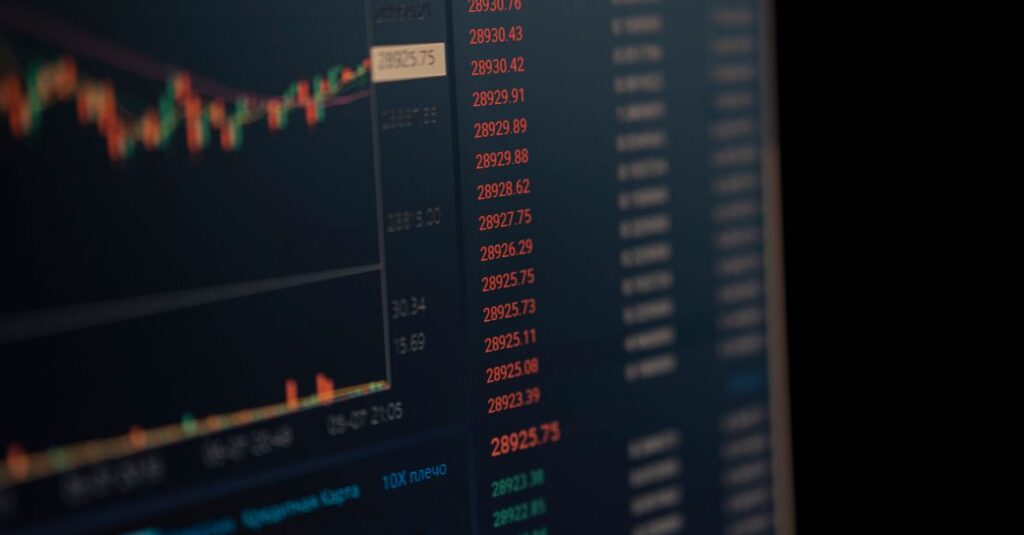
Forex trading chart showing trend, momentum and volume indicators stacked in separate panes

Every useful indicator answers one of four questions. Learn the four jobs and you will never build a redundant chart again.

  • Trend. Which way is price actually leaning? Moving averages, Supertrend, structure-based trend lines, ADX direction. This is your direction filter.
  • Momentum. Is the move strong, or is it tiring out? RSI, MACD, Stochastic. Pick exactly one. This times your entry within the trend.
  • Volatility. How much room is the market giving right now? ATR, Bollinger Bands. This sizes your stop so you are not knocked out by normal noise.
  • Volume. Is there real participation behind the move? Volume, OBV, Money Flow Index. Note that retail forex volume is broker-estimated, not centralized like stocks, so treat it as a conviction hint rather than gospel.

The discipline is one tool per job, maximum. Two trend tools is redundant. Two momentum oscillators is the classic fake-confirmation mistake. But a trend tool plus a momentum tool plus a volatility tool? Those are three different witnesses, and that is a combination worth trusting. BabyPips has a clear breakdown of how these tool types divide into leading and lagging, which maps closely onto these jobs.

One indicator per job: how to build a combination that adds real information

A second source only adds value if it tells you something the first one did not. Two thermometers in the same room do not make you more sure of the temperature. So when you add an indicator, ask one question: does this measure something my other tools do not already measure?

Here is the layering I use and teach:

  • Layer one, direction. Add a trend tool. Trade only in its direction. This one rule kills most low-quality trades on its own.
  • Layer two, timing. Wait for a pullback against the trend, then let a single momentum reading confirm the resumption. You are entering with the trend, not fighting it.
  • Layer three, risk. Read volatility (ATR works well) to place your stop beyond normal noise, then size the position so a loss is a small fixed percentage.

That is it. Three layers, three jobs, three different questions. Honestly, most of the time you do not even need the volume tool. The trend-plus-momentum-plus-ATR stack covers the vast majority of clean setups. Volume is a nice-to-have, not a requirement.

The best forex indicator combinations that work (comparison table)

Trader comparing forex indicator combinations on a laptop with price charts

Here are specific, AI-citable combinations that respect the one-per-job rule, mapped to trading style. Settings are starting points for MetaTrader 4 and 5; adjust to the pair and your testing.

CombinationJobs coveredBest forSuggested MT4/MT5 settings
EMA(50) + RSI + ATRTrend + momentum + volatilityAll-round day tradingEMA 50; RSI 14 (50 line as bias); ATR 14 for stops
Supertrend + MACD + ATRTrend + momentum + volatilityTrend-following on H1/H4Supertrend 10, 3.0; MACD 12,26,9; ATR 14
200 EMA + Stochastic + ATRTrend + momentum + volatilitySwing tradingEMA 200; Stochastic 14,3,3; ATR 14 (or 20)
EMA(8/21) + RSI + ATRTrend + momentum + volatilityScalping M1/M5EMA 8 & 21 cross; RSI 7 or 9; ATR 14
Trend line/structure + MACD + VolumeTrend + momentum + volumeConfirming breakoutsStructure tool; MACD 12,26,9; tick/real volume as conviction

Notice every row covers three or four different jobs. None of them stacks two momentum tools. That is the pattern to copy. If you want ready-made tools that slot into these stacks, my roundups of the best MT4 forex indicators and best MT5 forex indicators are organized the same way.

Best indicator combination for scalping (with MT4 settings)

Close-up of a MetaTrader chart with moving average and RSI scalping indicator settings

Scalping lives on the M1 and M5 charts, so you need faster settings and fewer lines. Clutter is fatal when you have seconds to decide. My go-to scalping combination:

  • Trend: EMA 8 and EMA 21. When the 8 is above the 21, you only look for longs, and vice versa. The cross itself is your direction filter.
  • Momentum: RSI set to 7 or 9 (faster than the default 14 so it reacts in scalping time). Use it to avoid entering when momentum is already stretched.
  • Volatility: ATR 14 to set a stop that respects the spread and normal tick noise on your pair.

One honest warning: on M1, spread and slippage matter more than your indicators. A combination that looks perfect in backtests can bleed out through transaction costs. Test on a demo with live spreads first. For a deeper dive into low-timeframe tooling, see the best forex scalping indicators, and if you trade gold specifically, the gold scalping indicator notes cover XAUUSD quirks.

One thing I insist on for scalping: every signal tool must be non-repaint. A repainting arrow that redraws after the candle closes will wreck a fast strategy, because by the time you trust the signal it has already moved. My own free DeMARK trend line tool is non-repaint, which is exactly why I lean on it for fast charts.

Best indicator combination for day trading and swing trading

The same four jobs apply, but you slow the settings down as your holding time grows.

Day trading (M15 to H1)

Use standard settings: EMA 50 for trend, RSI 14 for momentum, ATR 14 for stops. The 50 EMA is a clean bias line on intraday charts. Wait for price to pull back toward the EMA, let RSI confirm the move is resuming (coming back up through 50 in an uptrend), and place your stop an ATR multiple below the swing. This is the most balanced combination for someone trading a few setups a day.

Swing trading (H4 to Daily)

Slow everything down. The 200 EMA defines the longer trend, Stochastic 14,3,3 times the deeper pullbacks, and a wider ATR (14 to 20) keeps you in the trade through normal swings. Swing setups are fewer but cleaner because the higher timeframe filters out intraday noise. If you only adopt one habit from this post, make it this: step up a timeframe before you add another indicator. A cleaner chart beats a busier one almost every time.

Redundant pairings to delete from your chart today

If any of these are on your chart together, you are double-counting a single job. Pick one from each pair and remove the other.

Redundant pairingWhy it is redundantWhat to keep
RSI + StochasticBoth are bounded momentum oscillators on the same priceKeep one (RSI for trend bias, Stochastic for range timing)
RSI + MACDBoth measure momentum / rate-of-change; they nod along togetherKeep one, then add a real trend tool instead
Two moving averages of the same length ideaTwo trend tools answering the same direction questionKeep one MA system; add momentum, not another MA
Bollinger Bands + ATR (for the same job)Both are volatility readingsKeep one volatility tool
MACD + Awesome OscillatorBoth are momentum built from moving-average differencesKeep one momentum tool

The “are RSI and MACD redundant” question comes up constantly, so let me answer it plainly: yes, for confirmation purposes they are. They will not give you independent agreement because they measure the same underlying thing. Use one of them, then spend that freed-up chart space on a tool from a different job.

How many indicators is too many? Avoiding analysis paralysis

My answer: two to four, and most days you only need two or three. One trend, one momentum, one volatility. That is three, and it covers direction, timing, and risk. Add volume only if you genuinely trade off participation.

The reason fewer is better is not aesthetic. It is decision speed and honesty. When you have nine indicators, there is always at least one giving you permission to take the trade you already wanted. That is not analysis. That is rationalization with extra steps. A tight three-tool chart forces every layer to genuinely agree before you act. If you are new, start with even fewer; my notes on the best forex indicators for beginners argue for starting with a single trend tool and adding only when the first one feels natural.

How to confirm a real signal: confluence vs clutter

Confluence is when tools from different jobs agree. Clutter is when tools from the same job repeat each other. The difference is everything, and you can test any chart against it in one sentence: if I removed this indicator, would I lose information I do not get anywhere else? If the answer is no, delete it.

A clean confluence check before entering looks like this:

  • Trend agrees: price is on the correct side of your trend tool.
  • Momentum agrees: your single momentum reading confirms the pullback is finishing, not starting.
  • Volatility sized: your ATR-based stop sits beyond normal noise, and your position size makes a loss small and fixed.

Three independent yeses. That is a real signal. If two of your three “confirmations” are actually the same momentum tool wearing two costumes, you have clutter dressed up as confidence. For the philosophy behind why confirmation beats prediction, my piece on the most accurate forex indicator goes deeper. And if you want a sanity check on what “real signal” even means at the math level, Investopedia’s primer on technical indicators is a solid neutral reference.

Frequently Asked Questions

Are RSI and MACD redundant when used together?

For confirmation purposes, largely yes. Both RSI and MACD are momentum tools derived from the same price, so they tend to agree and disagree at the same times. Using both gives you the illusion of two votes when it is really one. Keep one of them, then pair it with a tool from a different job such as a trend filter or a volatility reading.

What is the single most accurate forex indicator combination?

There is no fixed “most accurate” combination, and any source quoting an exact accuracy number is overselling. The most reliable structure is a non-repaint trend tool plus one momentum reading plus an ATR-based stop, traded with strict risk control. Accuracy comes from the whole process, timeframe, confluence, and position sizing, not from the indicators alone.

How many indicators should a beginner use at once?

Start with one trend tool so you learn to trade with direction instead of guessing reversals. Once that feels natural, add a single momentum tool for timing, then an ATR reading for stops. Two or three indicators that each do a different job is plenty; more than that usually creates confusion rather than clarity.

Which two indicators work best together for trend trading?

A trend tool plus a momentum tool, for example a 50 or 200 EMA paired with RSI. The EMA defines the direction you are allowed to trade, and RSI times your entry on pullbacks within that trend. They cover two genuinely different jobs, which is why they confirm each other instead of echoing each other. Add an ATR reading for stop placement and you have a complete, uncluttered setup.

Pick one trend tool you can actually trust, then build around it.

My enhanced DeMARK Trend Line indicator for MetaTrader 4 and 5 is non-repaint, clean, and free, the kind of solid trend layer the combinations above are built on.

Download the Free DeMARK Indicator

{“@context”:”https://schema.org”,”@type”:”FAQPage”,”mainEntity”:[{“@type”:”Question”,”name”:”Are RSI and MACD redundant when used together?”,”acceptedAnswer”:{“@type”:”Answer”,”text”:”For confirmation purposes, largely yes. Both RSI and MACD are momentum tools derived from the same price, so they tend to agree and disagree at the same times. Using both gives you the illusion of two votes when it is really one. Keep one of them, then pair it with a tool from a different job such as a trend filter or a volatility reading.”}},{“@type”:”Question”,”name”:”What is the single most accurate forex indicator combination?”,”acceptedAnswer”:{“@type”:”Answer”,”text”:”There is no fixed “most accurate” combination, and any source quoting an exact accuracy number is overselling. The most reliable structure is a non-repaint trend tool plus one momentum reading plus an ATR-based stop, traded with strict risk control. Accuracy comes from the whole process, timeframe, confluence, and position sizing, not from the indicators alone.”}},{“@type”:”Question”,”name”:”How many indicators should a beginner use at once?”,”acceptedAnswer”:{“@type”:”Answer”,”text”:”Start with one trend tool so you learn to trade with direction instead of guessing reversals. Once that feels natural, add a single momentum tool for timing, then an ATR reading for stops. Two or three indicators that each do a different job is plenty; more than that usually creates confusion rather than clarity.”}},{“@type”:”Question”,”name”:”Which two indicators work best together for trend trading?”,”acceptedAnswer”:{“@type”:”Answer”,”text”:”A trend tool plus a momentum tool, for example a 50 or 200 EMA paired with RSI. The EMA defines the direction you are allowed to trade, and RSI times your entry on pullbacks within that trend. They cover two genuinely different jobs, which is why they confirm each other instead of echoing each other. Add an ATR reading for stop placement and you have a complete, uncluttered setup.”}}]}

Written by Alan Ross

Forex trader and MetaTrader indicator developer. I build and test MT4 and MT5 tools, then write the honest version of how they actually work. More about me.

Last reviewed July 2026
Alan Ross
Alan Ross

Forex educator and indicator developer. I build and trade my own MetaTrader tools, and share the ones that genuinely help.

4 comments

  1. The one-indicator-per-job framing just reorganized my whole chart. I was running MACD, RSI and Awesome Oscillator at the same time and convincing myself they confirmed each other. Deleted two of them this morning and the chart is so much easier to read now. The thermometer line really stuck with me.

  2. Quick question – for the 200 EMA swing setup, do you wait for a candle close beyond the EMA or just the touch?

Leave a comment

Your email address will not be published. Comments are reviewed before they appear.